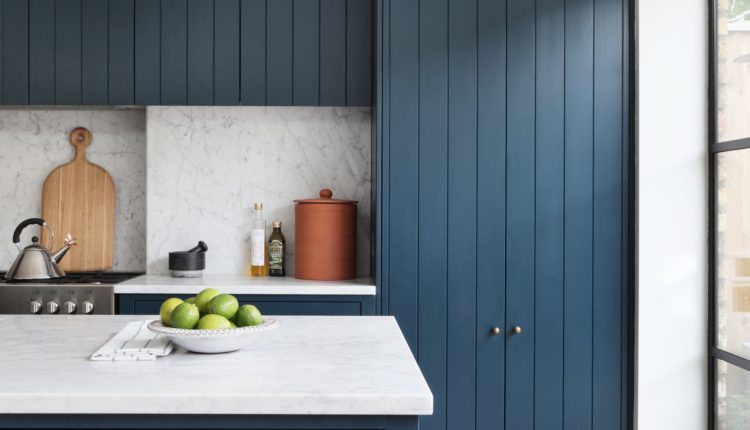
How to Clean Kitchen Cabinets So They Look Good as New
There’s no doubt about it—our kitchens take a beating, especially if they’re frequently used or trafficked through. It’s important to regularly deep-clean your kitchen, but you may be neglecting cleaning one major item in your kitchen that probably looks cleaner than it is—your kitchen cabinets. Cabinets collect dirt, dust, and grime, and that’s not even including kitchen grease. Cleaning kitchen cabinets can seem overwhelming. But don’t worry—keep reading to find out how to do this needed and transformative kitchen chore.
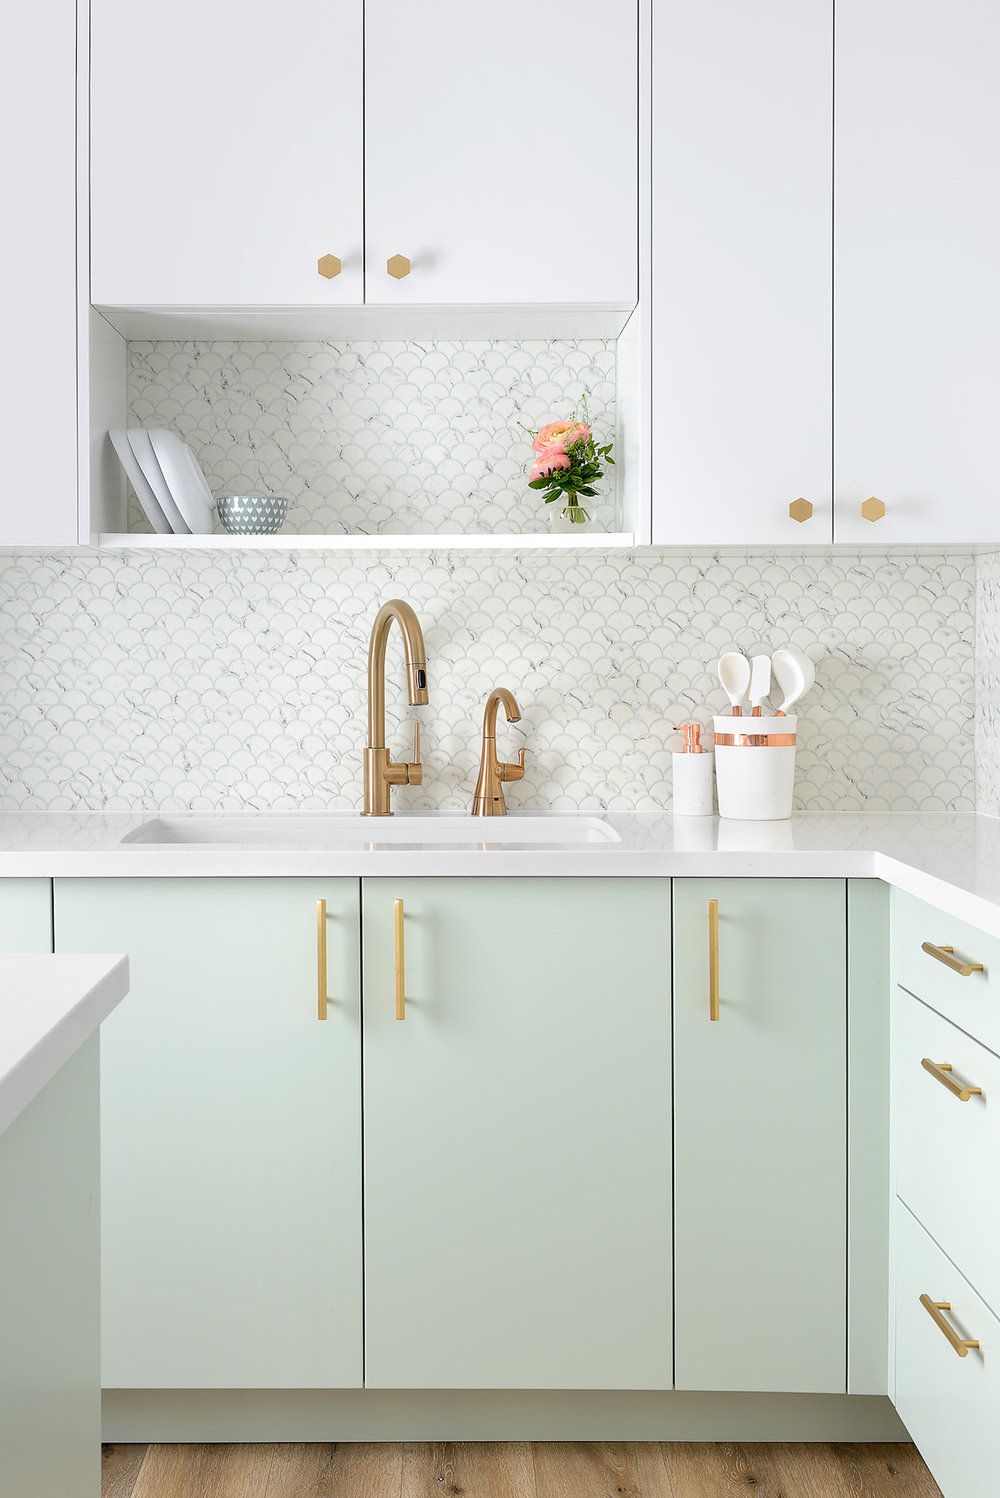
How Often Should You Clean Your Kitchen Cabinets?
Kitchen cabinet cleaning is a necessary, but occasionally-arduous task. How much you need to do it will depend on how often you cook in your kitchen. If you cook every night, consider cleaning your cabinets two to four times a year. Not much of a home chef? Stick to cleaning them annually.
What You’ll Need
Ready to clean your kitchen cabinets? Here’s what you’ll need before getting started.
- Duster
- Clean washcloths
- Spray bottle
- Dish soap
- Warm water
- Baking soda
- Soft-bristle scrub brush
- Toothbrush
Step 1: Empty Your Cabinets
Before you begin deep-cleaning your cabinets, you’ll need to empty them out first. Although you can clean your cabinets with items still in them, it’s a lot more cumbersome and a lot less thorough. So it’s best to clear them out before you get started.
Step 2: Dust
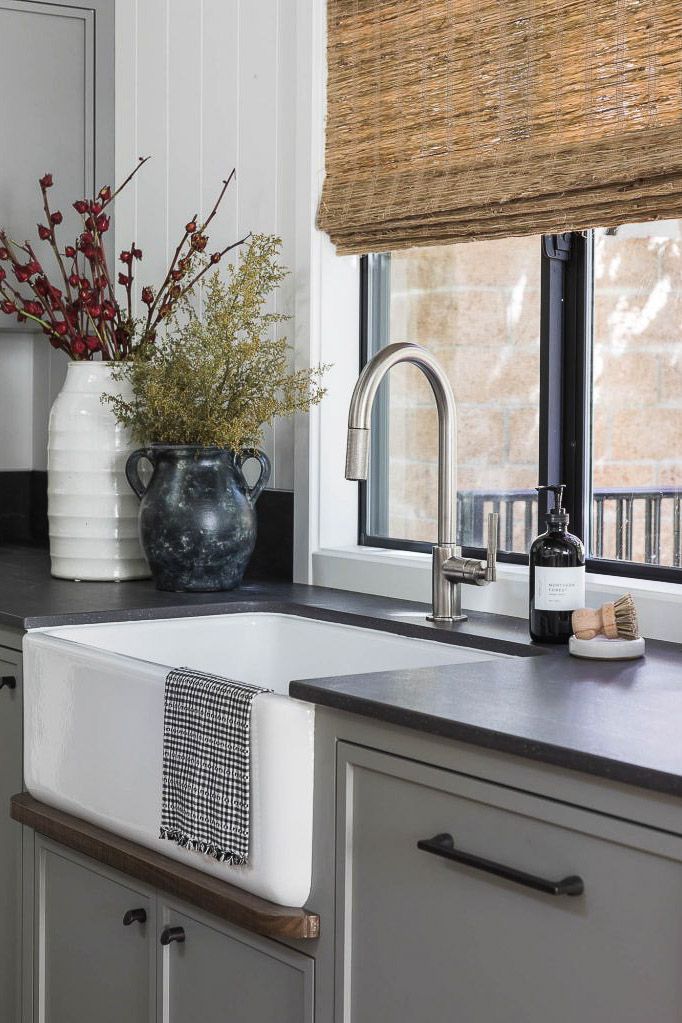
Thanks to their frequent (and messy) use, kitchens are magnets to dirt of all kinds, including dust. Dust needs to be dealt with before cleaning kitchen cabinets so that it doesn’t just get smeared around once the scrubbing starts.
To dust your kitchen cabinets, start at the top of the cabinets with a duster and work your way down. Don’t forget to dust the interiors too.
Step 3: Make a Cleaner
Making a cabinet cleaner is as-easy-as-can-be. To put it together, mix a few drops of dish soap with some warm water in a spray bottle. The cleaner can be sprayed directly onto engineered wood cabinets or those with a glossy, water-resistant finish. For unfinished or hardwood cabinets, the spray should be first applied to a microfiber cloth.
Step 4: Clean the Inside
Now it’s time to really get cleaning. Spray the cleaner onto the inside of the cabinets and follow it with a clean cloth (and some elbow grease) to remove built-up grime. Wipe the insides down with a clean damp cloth after they’ve been treated with the cleaner. Work from top to bottom, and let the inside air-dry before you close the cabinet doors to begin cleaning the cabinet exterior.
Step 5: Clean the Outside
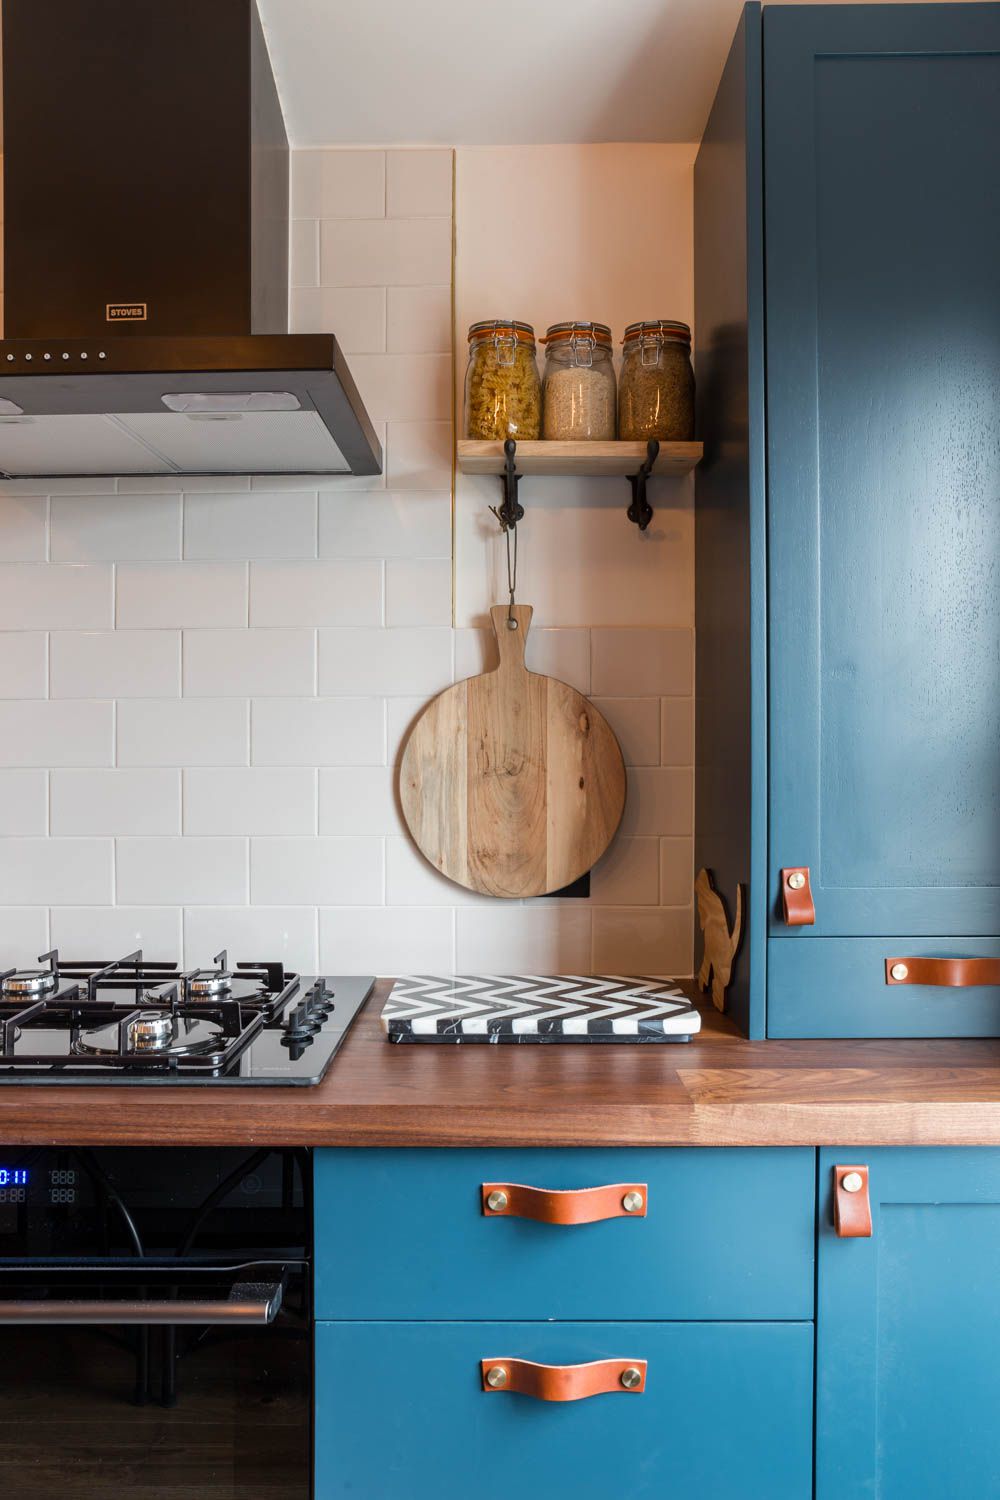
Next, get started on the exterior of the cabinets, cleaning in the same method as the interior. Start with the top of the cabinet—there’s probably plenty of built-up dirt here, so be sure to give it some extra care. Once you’ve finished with the top, make your way downwards.
Step 6: Tackle the Grease
Stovetop cooking can create many a delicious meal, but it can also leave behind a greasy mess on your cabinets. To rid your cabinets of any grease build-up, make a paste of a 1/4 cup baking soda and a 1/2 cup water. Apply the paste to any greasy spots and let sit for five minutes before gently scrubbing it off. Wipe down the treated area with a clean, damp cloth.

Step 7: Don’t Forget Corners and Trim
Before you call it quits on cabinet cleaning, give some special attention to any tight corners or trim. Use a toothbrush with cleaner applied to it to reach any tricky spots, and give them a gentle scrub to get rid of built-up dirt and dust.
Step 8: Return Items to the Cabinets
Once your cabinets are looking as good as new, it’s time to clean up any mess you made cleaning the cabinets. You’ll probably need to wipe down your countertops and sweep your floors, as excess dust or dirt from your cabinets likely ended up there.
If your cabinets are dry, you can begin to put their contents back. But make sure to give your cabinet contents a spot check before putting them back. Clean away any grime or dust you see so that they don’t stain or dirty your cabinets after all your hard work.
How to Keep Your Cabinets Clean Longer
To make sure your kitchen cabinets stay in tip-top condition as long as they can, be sure to treat any stains or spills as soon as they occur. This ensures that they’ll be easy to get off and that you won’t have to deal with any long-stuck-on stains. Additionally, use cabinet liners in the interior of your kitchen cabinets to protect them from stains and dirt. Once the liners look dirty, they can be wiped down with the same cleaning combo of dish soap and warm water.

