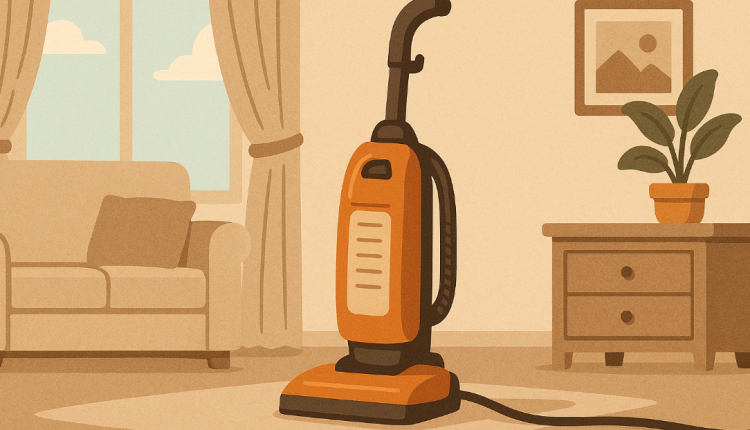
Maximizing the Life of Your Vacuum Cleaner: A Comprehensive Guide
Keeping your vacuum cleaner in peak condition ensures effective cleaning, longevity, and cost savings over time. Whether your device is a sleek upright model, a cordless canister, or a robot vacuum, proper upkeep prevents performance decline—even before signs appear. This guide explores best practices for maintenance, covering cleaning routines, part replacements, troubleshooting, and storage tips. Let’s begin!
Understanding Your Vacuum’s Components
A vacuum cleaner comprises several vital parts: the motor, dust bag or bin, filters, brush roll, hoses, belts, and attachments. Each element plays a unique role:
- Motor and suction pathway: Generates airflow, drawing dirt through the inlet and hose.
- Dust containment: Uses a disposable or reusable bag, or a dustbin for collection.
- Filters: Trap fine dust, allergens, and particulates—protecting the motor and improving air quality.
- Brush roll and belts: Agitate carpets to lift embedded dirt; belts drive the roller.
Knowing this anatomy helps you understand when cleaning, replacing, or troubleshooting is necessary.
Daily and Weekly Maintenance
Consistency is key. Here’s how to maintain peak performance:
- Empty the dust container
- Disposable bags: Change when ~⅔ full to prevent airflow loss.
- Dustbins: Dump contents after each use to avoid debris compaction.
- Inspect and clean filters
- Foam or felt filters: Rinse with lukewarm water every two to three uses; let air-dry completely before reinstalling.
- HEPA or paper filters: Tap over trash to remove dust; replace per manufacturer’s recommendation (typically every 6–12 months).
- Unravel brush roll hair and fibers
- Turn off and unplug the vacuum. Remove visible hair, threads, or pet fur entangled around the brush. For thorough cleaning, use scissors to cut through long strands before pulling them out.
- Check suction
- Place your hand near the hose or nozzle. Strong suction is normal; if airflow is weak, inspect for blockages in hoses or attachments.
- Wipe exterior surfaces
- Use a slightly damp microfiber cloth to remove dust and smudges—keeping the body clean and the device looking its best.
Monthly Deep Maintenance Once a month, take a closer look at internal components:
- Clean the brush roll mechanism
Remove the brush roll from the housing and clean inside the compartment. This prevents buildup that could hinder rotation. - Examine hoses and wand attachments
Detach attachments and inspect them individually. Use a broomstick or long brush to dislodge stubborn debris. - Inspect the belt condition
For upright vacuums, remove the belt and check for fraying, cracks, or stretching. Replace if any damage is visible. - Assess filter wear
Even washable filters lose efficiency over time. If cleaning fails to restore them fully, consider replacements to maintain performance.
Replacing Parts: When and How
Timely replacement of worn components prevents unnecessary stress on the vacuum motor:
- Dust bag or bin
- Bags: Replace if torn or if suction weakens despite full filters.
- Bins: Clean thoroughly with soap and water; reinstall only after complete drying to avoid mold.
- Filters
- Foam/prefilter: Replace every 3–6 months depending on usage.
- HEPA or paper filter: Replace annually or sooner if airflow decreases and cleaning doesn’t help.
- Belt replacement
Belts wear out gradually. If the brush roll stops spinning or the belt looks greasy or cracked, replace it with a model recommended by the manufacturer. - Brush roll replacement
Bristles wear and become less effective. Replace every 12–18 months, depending on how often you vacuum and what surfaces you clean.
Troubleshooting Common Issues
Identifying issues early prevents major malfunctions:
- Loss of suction
– Cause: Full bag or bin, blocked hose/filter, clogged motor intake.
– Fix: Empty the bin, clean filters, detach attachments and inspect for tangled debris. - Strange noises or shaky operation
– Cause: Worn brush roll bearings, debris buildup, damaged belt.
– Fix: Remove the brush roll and debris, replace bearings if loose, replace belt if cracked. - Burning smell or motor cut-out
– Cause: Blocked airflow makes the motor overheat.
– Fix: Switch off immediately. Once cooled, clear all filters and hoses thoroughly. - Clogged brush roll or hair wrapping
– Cause: Long pet hair or strings wrapping around the roller.
– Fix: Turn off and unplug. Remove the brush roll, cut tangles with scissors, and clean thoroughly.
Long-Term Care Tips
With simple habits, you can extend your vacuum’s lifespan significantly:
- Vacuum daily or bi-daily in high-traffic or pet areas to reduce buildup.
- Store with care: Coil the cord neatly and keep hoses unlocked to prevent deformation.
- Take filter care seriously: Efficient filters ease motor workload and enhance cleaning power.
- Schedule professional repairs or servicing if motor sounds rough or performance drops significantly—untrained repairs may void warranty or damage internal systems.
Eco-Friendly Sanitizing
Maintain cleanliness—and health—without harsh chemicals:
- Baking soda deodorizer: Sprinkle on carpets before vacuuming to neutralize odors.
- White vinegar wipe-downs: Mix with water and spray on hard surfaces; wipe down rag after vacuuming.
- Steam cleaning attachments: For vigorous sanitizing, these are ideal—but ensure compatibility with your vacuum before use.
Conclusion
Consistent and thoughtful vacuum maintenance empowers your machine to perform better, stand the test of time, and prevent costly repairs or replacements. From daily emptying and filter cleaning to monthly deep cleans and timely part swaps, each step preserves suction power and cleanliness. Combine these routines with eco-friendly tricks like baking soda and cautious storage habits—and you’ll enjoy a quieter, more efficient, and healthier clean throughout your home.
By dedicating a few minutes after each session and a bit more attention monthly, you ensure optimal airflow, powerful suction, and bright interiors—all while extending your vacuum’s operational life. With these tips in place, your device will continue to serve you well for years ahead.

